Work in Progress – ElyriaHousing.com

I’ve enjoyed helping to bring a small business to the online world.  ElyriaHousing.com is the first website that was completed by Jiverisfy!  ElyriaHousing.com was built to help a small property management company decrease their vacancy rates and build great family neighborhoods while reducing business administration costs.  If you are a property owner with at least 4 properties or over 12 Unites and want to build a website for property management, then check out what apartments are available in Elyria Ohio.


ElyriaHousingWebsite


This website includes the following items.


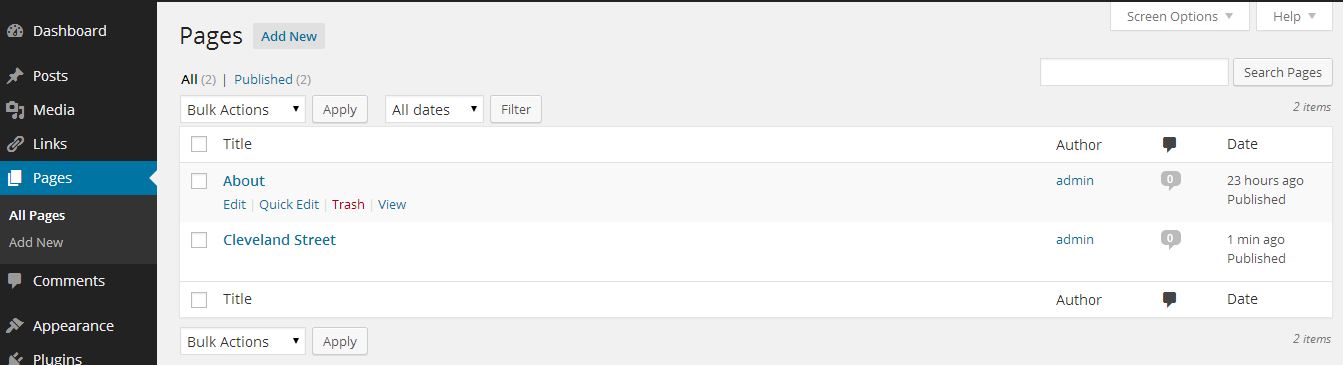
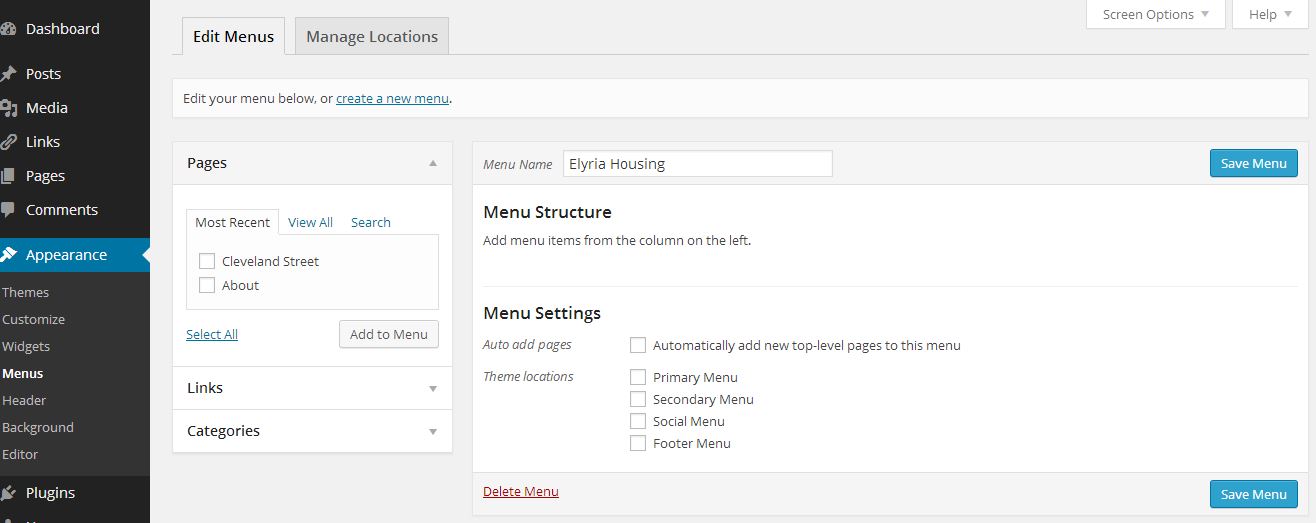
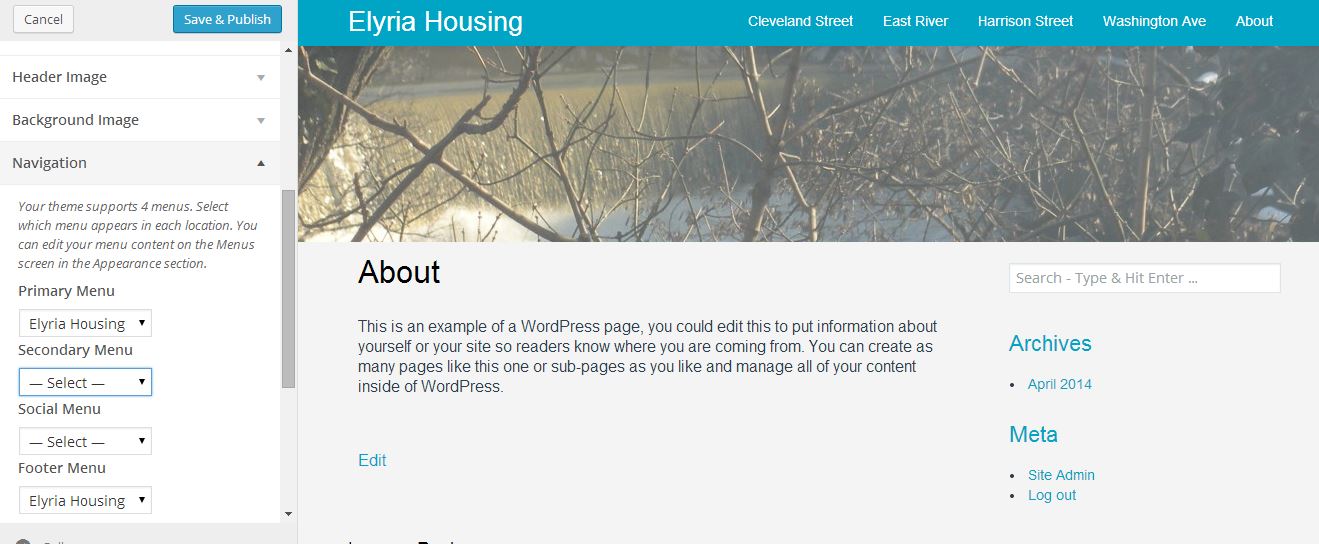
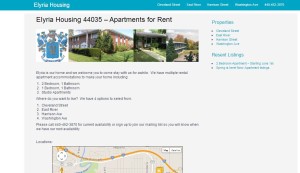
1. One layer Menu Structure

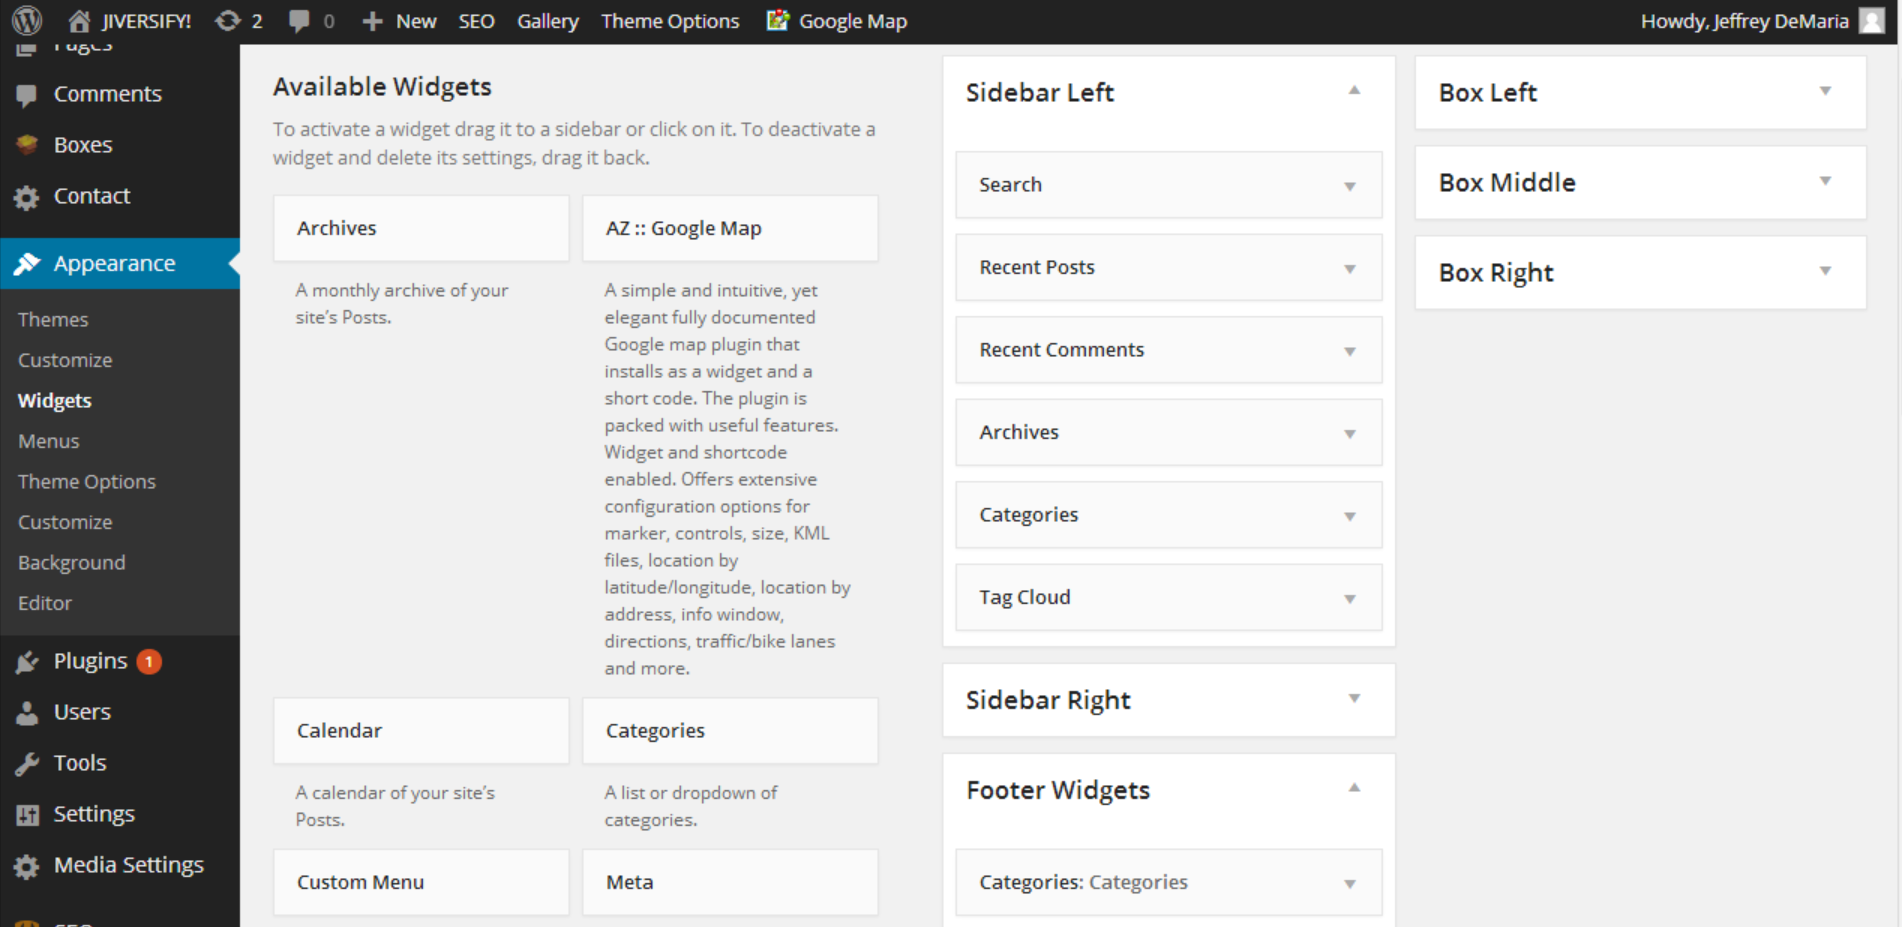
2. Google Maps Integration

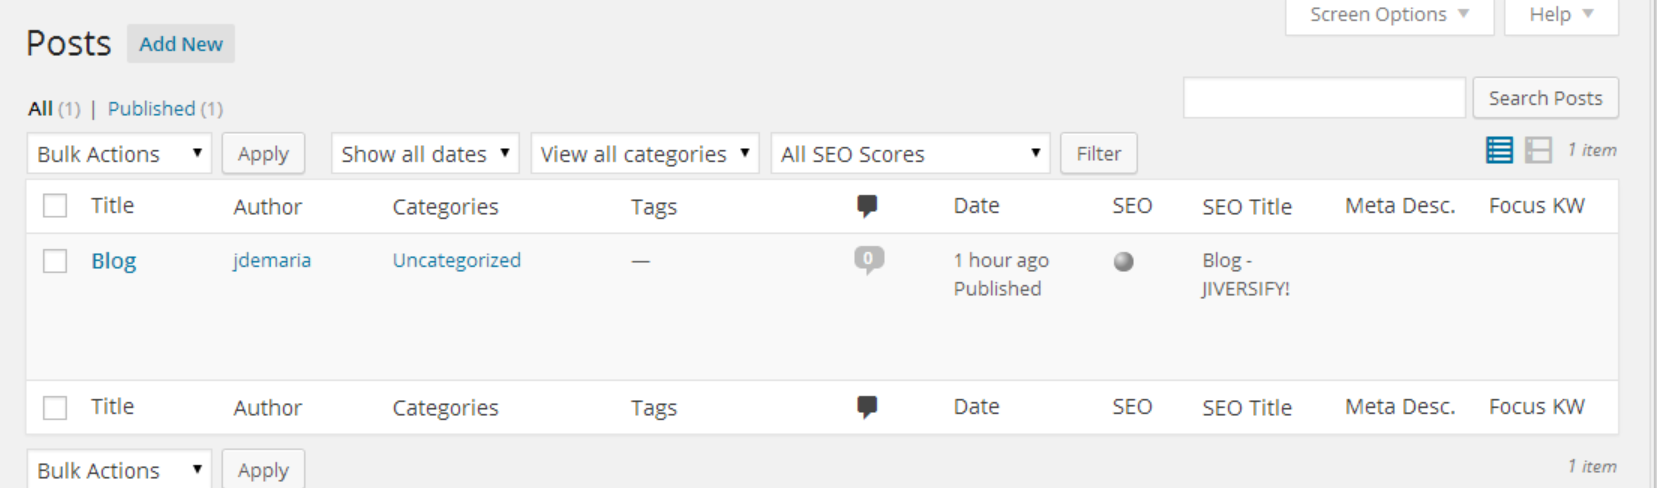
3.  Blog/Advertising Section
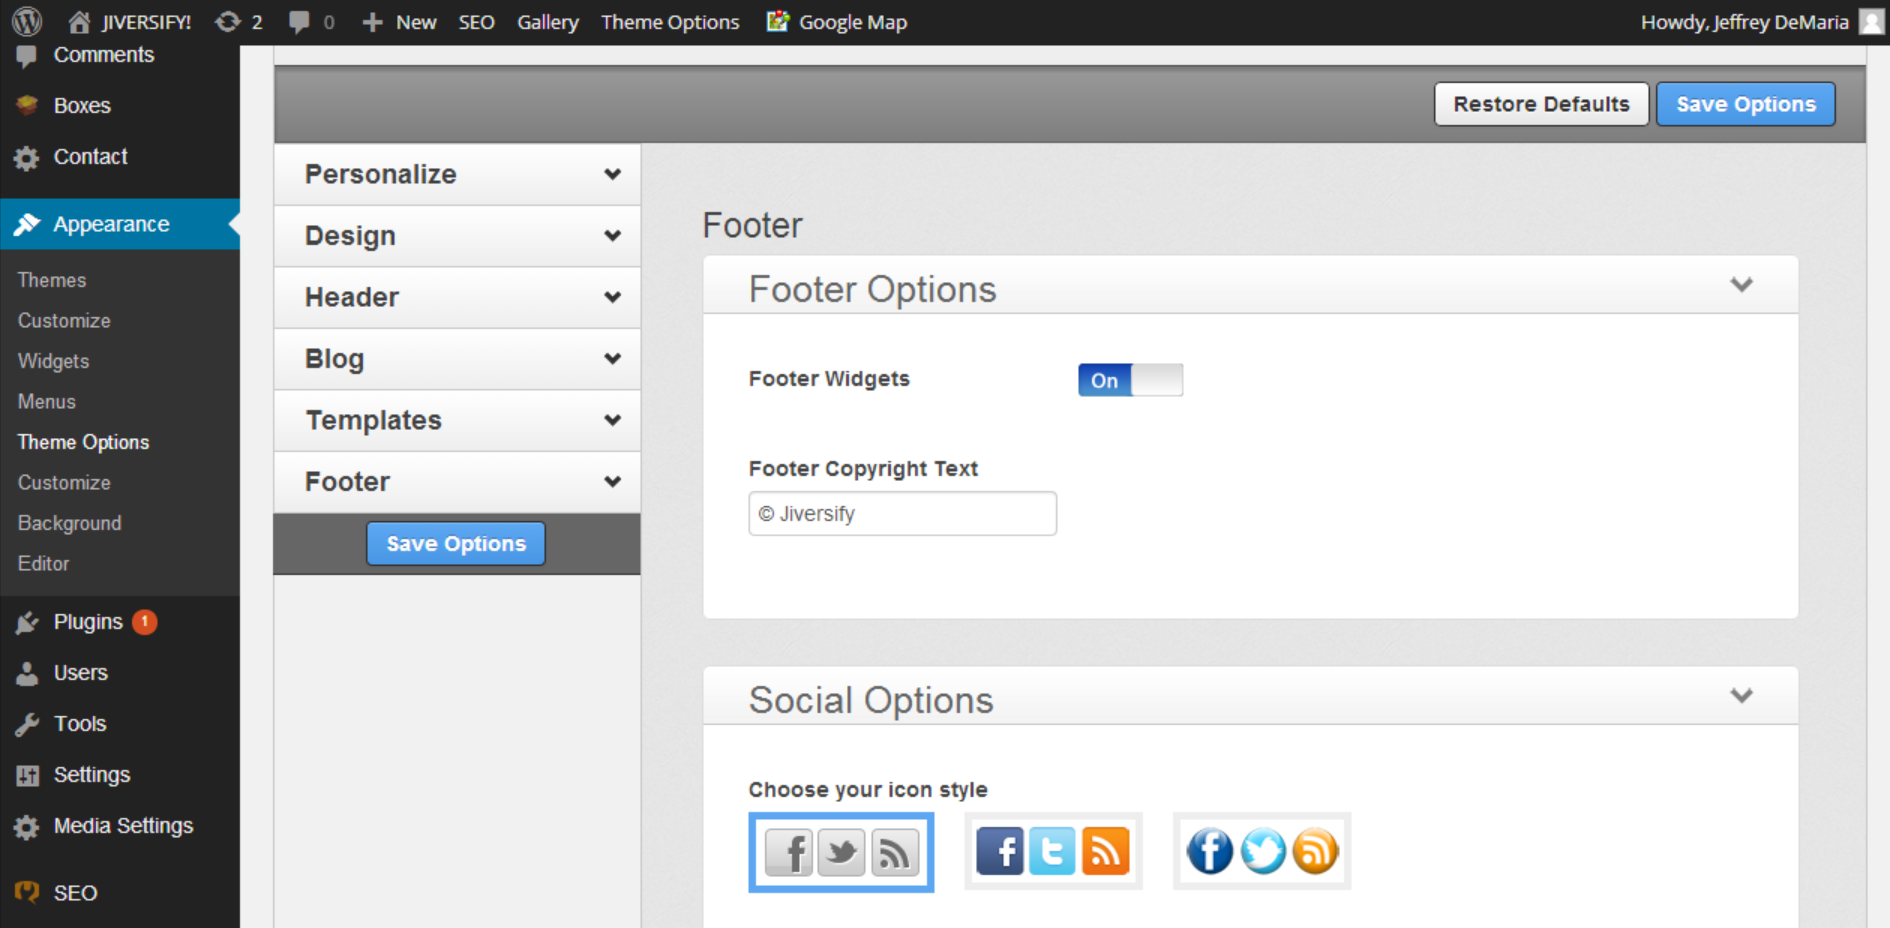
4.  Media Gallery

5. Contact Web Submission Forms

6. Search Engine Writing Tool

7. Interlinking Web Pages

8. Google Analytics Statistics

9. Webmaster Tools Set Up

9. Cheap Domain Registration

10. Basic Monthly Hosting – Annual Contracts


This is the type of setup a client would get for the first bundle of Jiversify’s website packages.

Changing Themes in WordPress – Very Basic

Changing Themes in WordPress is pretty simple.  In this blog post I will show you how to change a very generic, out of box theme which will change the entire look and feel of the website.  The reason why I’m make a change is that I can change the back image which is a picture of food.  Not to say that I don’t love food, but to get things started with Jiversify! I wanted to focus on building quick and easy websites for clients.   So today, Jiversify! isn’t a food catering service yet, but it might end up being a business service one day.  Here is a screen shot of the website before I changed themes in WordPress.

Food Theme

Here is a list of steps in changing themes in WordPress:

1. Find a generic WordPress Theme

Theme Option from WordPress Admin

2. I just clicked install, because I wasn’t too worried about test the preview.

Click Install WordPress Theme

3. After it install, you can see a live preview.

Preview WordPress Theme

4. Click Activate

I’m guessing that there will be a few items I will have to review and probably have to fix so that information will show us properly.  This includes items like:

The menu items might change.

The widgets on the page types might not transfer over.

Well, until next time.

Adding Landing Pages to your Menu in your WordPress Website

Adding Landing Pages to your Menu in your WordPress Website:

The first step is to login to your WordPress website admin site and click on the pages tag on the left hand side of your toolbar.

Adding Pages

Now, you can quickly create a page that will be the top menu item.  In the example I’m about to show is for a property management company.  The company have listings in 4 different addresses with multiple apartment types.  All four properties are very different and serve many different types of communities.  Each property is special and has fantastic management to service tenant needs.

Cleveland Street Landing Page

Now it is time to show you how to add the page to the menu structure of the website.  Before you add your main menu items, you really want to understand what your entire website should look like so that your entire menu makes sense.  It’s not hard to make fixes, but you will save yourself a lot of work and time if you plan properly.  The first thing you do to add to a menu is to find the area in the WordPress Admin area to create and manage your menu.

Creating a New Menu in WordPress

You can easily see what options you have available. I’m going to go ahead and jump a couple steps like cooking shows and provide you with a close to finished product.  In this next image you will see that you can drag and drop the menu items in the order in which you would like.  In this example, I manually add the name of different streets followed by the about us section.

Ordering your Menu Items in WordPress


The last step before you can add the newly created menu in from your WordPress site is to customize the theme in your WordPress website.  In the screen shot that I’m provide, it was for a client when we were in the development phase of the site, so we will probably need to repeat this step is we changed the WordPress theme.  Or, we might get lucky and the custom themes might keep feature intact from one version to the next….  We’ll just have to see.

Customize Menu in the Theme of WordPress Site

Hopefully this makes sense.  If you can’t follow these steps, email jdemaria@jiversify.com or submit a question below.

Customized Footer in WordPress

Having a Customized Footer in WordPress is important to help with easy navigation of your company website.  To activate your footer and to add widgets to your website, visit the following sections in the admin portal of your company website.

Footer activation in WordPress

Footer activation in WordPress

Adding Widgets to your footer:

WordPress widgets in footer

WordPress widgets in footer

From here you only need to drag-and-drop your plugins into the correct menu structure.

Custom headings in WordPress footer

Custom headings in WordPress footer

And this is what it looks like:

Custom Footer on Website

Custom Footer on Website

And that’s how you create a customized footer in WordPress.

Adding Users To a WordPress Website

Adding Users To a WordPress Website is pretty easy for you to do if the have admin access rights.


I remember when WordPress was mostly a blog tool to allow writers to add indexable, highly optimized content to increase organic search results.  Now with an entire ecosystem of developers and webmasters, business can leverage the WordPress Content Management System to streamline business activities.

With out-of-box plug-ins and a gallery of WordPress themes, small business can create a strong online presence with a polished website within days.  Enterprise customer would most likely need a 30 day implementation in order to account for integration with other business management applications and WordPress development.

Either way, it is important to share you work with your team so you can accomplish more.

Here are very detailed screenshots for adding users to a WordPress website.

Left hand navigation to add users:

User Menu in WordPress

User Menu in WordPress

Top navigation after you select all users:

Add User in WordPress

Add User in WordPress

Standard form after you click all users.

Add User Screen in WordPress

Add User Screen in WordPress

After you create the user, review the profile again because new fields may appear.

The rest is pretty simple… If you need help building your brand online, shoot us a quick note.

Before Adding Multiple Services to My Business

Tonight I’m adding multiple services to my business website.  Here is a screenshot of what the website looked like before I started working on April 8, 2014.  It’s 9:15 PM PST.

Before adding multiple services to my business

Before picture of adding multiple services to my business.

That part took 7 minutes to create the screenshot for Adding Multiple Services to My Business.

Time past…..

Well, I didn’t get as far as I wanted because I had to write content.   Writing content is one of the most time consuming activities when launching a website.  Luckily, I only need to create the framework.

Adding Services

Adding Services

Now, just to prove a point, I’m going to add a service with minimal content to show how easy it is to take advantage of the simple to customize drop down menus offered in our introductory website packages.

Content Creation Service

Content Creation Service

You’ll see I changed the menu to better organize the content.  And now, our newest service is Content Creation.  LOL.

As you can tell, everything takes time.  This post about adding multiple services to my business did take me over 2 hours.  There is a long way to go to completing the website.

My recommendation to clients is to invest in your content.  It will make the launch for your website much quicker.  Our goal is to give you the tools to keep cost down and to help you provide what you do best.  That is, provide an excellent product or service to your customers.

60 Minutes is all it took to get rolling with WordPress

I’ve been working with a developer for more than a year tweaking a few websites I manage.  In order to better understand how plugins work better, I wanted to start my own site.   Now, I can tell people that they can do anything and if a website is required to get started, there is nothing holding them back!

I took me 60 minutes to copy and paste all the old content on my old site and now I’m working on the blog side.  I had already set up multiple pages, and even worked on the sub navigation.

Here is the proof:

60 minutes


Now, I need to optimize this post using the Yoast Plugin:


Yoast Plugin for WordPress


Can’t wait to post more cool stuff!